Whether you're headed across the country, up a mountain, through the mud, or across a snow-covered field, a good set of powersports boots will keep your feet comfortable, dry, and well protected. But that's not all - the specially-designed, reinforced boots on our website offer you a great variety of stylish looks from classic to radical. We're confident you're going to like what you see.

But let's revisit the "well protected" part, because powersports boots are engineered from the ground up to provide protection in the worst crash situations. In other words, they're built strong to prevent your feet from getting crushed, burned, scraped, or impaled. What's important to understand is that keeping these boots clean and protected from the elements is the best thing you can do to prolong their useful lifespan.

In this article, we take a look at a few products that do just that. The first step is removing ground-in gunk with good cleaners, then applying protection with conditioner (recommended periodically for leather), and finally re-applying a durable water repellency coating. We assure you these steps aren't difficult or expensive.
Caring For Your Boots
Most boots designed for powersports use are crafted from synthetic materials such as Gore-tex or something similar. However they look on the outside, these synthetic materials contain a network of tiny pores simulating those found in natural leather. Moisture and perspiration inside the boot are allowed to escape through these pores, creating a high level of breathability that keeps feet dry.
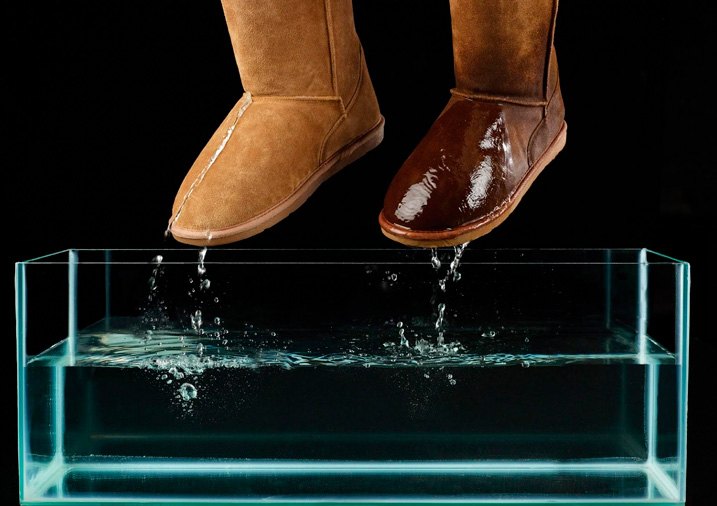
What prevents water and moisture from working its way back into the boot is an effective layer of durable water repellency (DWR) on the outside. DWR is applied to boots of all materials during the manufacturing process, but it wears off gradually over time. When it does, boots can absorb water and feel heavy, hard to maneuver in, and a lot colder. Leather boots suffer especially, losing natural oils from deep within that prevent drying and cracks. Wet leather also becomes particularly mushy and loses its ability to provide structural protection for feet and ankles.
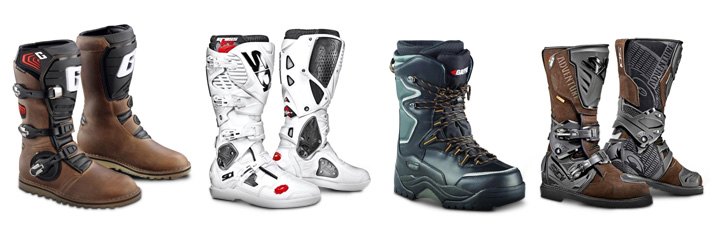
Exterior materials vary depending on the types of boots. For example, those built for off-roading usually include a combination of Gore-Tex synthetics, hard shell polymers, and some durable woven textiles. Some, but not all, boots designed for motorcycle touring and cruising may be made fully or partially of leather, with Gore-Tex still being a common mainstay. Snowmobile boots focus on being waterproof with thick layers of synthetics and rubberized outer shells.
Gore-Tex & Other Non-Leather Boots
With synthetic Gore-Tex material, it's best to go with a simple hand washing using lukewarm water, liquid hand soap, and a gentle, non-abrasive scrub brush or cloth. The manufacturer of Gore-Tex recommends avoiding harsh powder detergents, fabric softeners, stain removers, or bleaches. The material's natural water repellency can often be restored simply by washing and drying this way. You'll be able to tell by seeing how well water beads on the clean surface once things dry.
Before doing any washing, shake out all the dirt and grit from the inside of your boots, and remove any detachable inner-liners and foot beds. Remove shoelaces, which can be cleaned effectively in a washing machine. Should you decide to replace old worn-out laces, we've got some from Fly Racing available in a choice of colors.
We recommend against using oil-based leather conditioner products on synthetic materials such as Gore-Tex. Even though Gore-Tex and leather are both porous, synthetic materials simply do not absorb oil in the manner that natural leather does.

Once the boots have fully dried and you find fresh water still does not bead to your satisfaction, go ahead and apply a spray coating of durable water repellent. See Section 4 of our article discussing this step.
Leather Boots
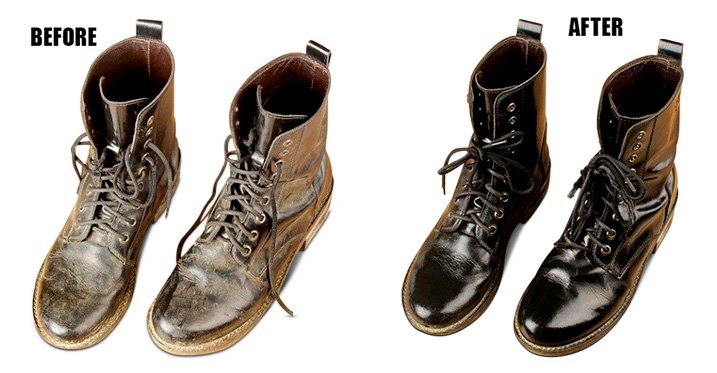
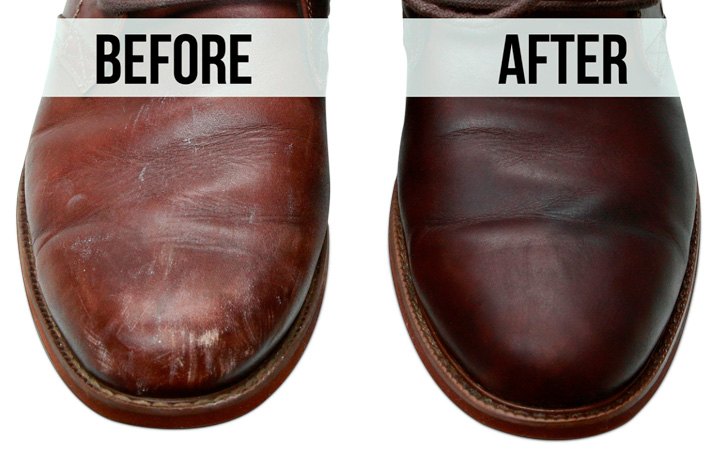
Without periodic cleaning and conditioning of leather boots, grime, gunk, and old layers of conditioners collect on the surface to clog natural pores within the leather. Because the dirt itself soaks up water, the boot surface underneath the dirt also becomes waterlogged. Natural lubricants in the leather are lost this way, causing it to dry out and develop cracks as it becomes structurally degraded. That's why old leather which hasn't been cared for tends to get coarse and stiff instead of buttery soft.

In our powersports riding gear chemicals section, you'll find specially-formulated leather cleaners, conditioners, and water repellency formulas to keep your boots looking young.
Cleaning Leather

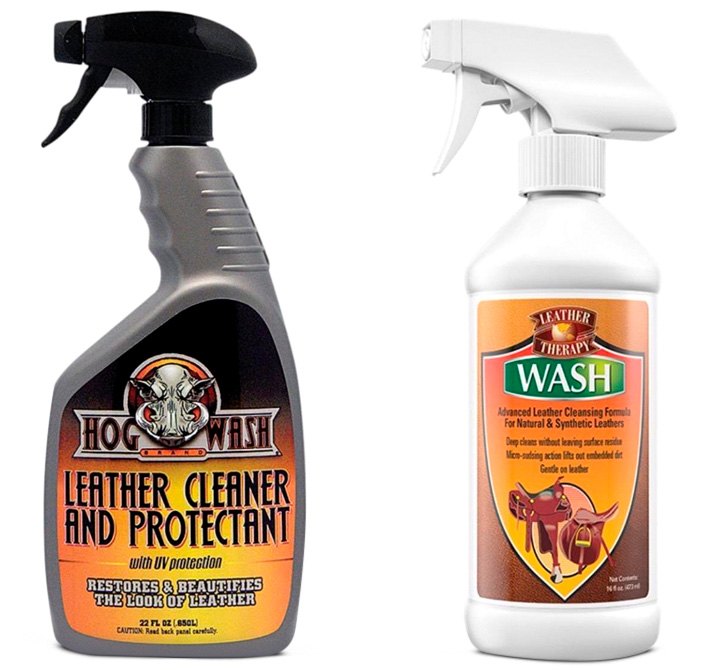
First, remove shoe laces and wash the leather surfaces thoroughly with specially formulated cleaners such as Leather Therapy's Leather Wash or Hog Wash's Leather Cleaner & Protectant. These are formulated for a neutral pH balance without harsh abrasives or alcohol that can fade colors. Once all the grime has been washed away, leather's ability to breathe naturally is restored.
If you see any surface scratches or gouges, we recommend avoiding the use of fillers to cover them up. Such fixes are only temporary, and can ultimately degrade the leather. Just clean and waterproof the cut areas well, and think of them as authentic battle scars. On a side note, if you have any unsightly rubber or plastic residue burned or melted onto exhaust pipes from boots or other gear, we recommend Hog Wash's Melt Magic for removal.

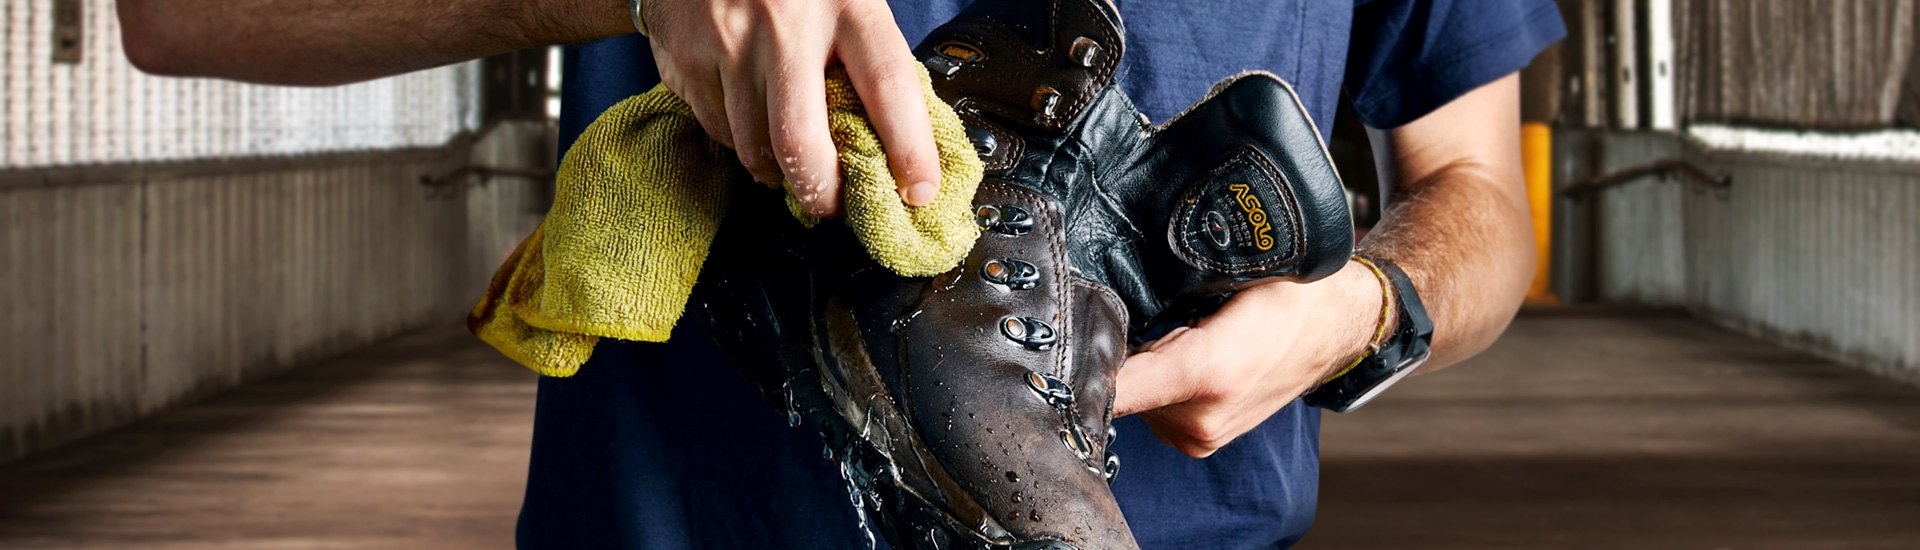
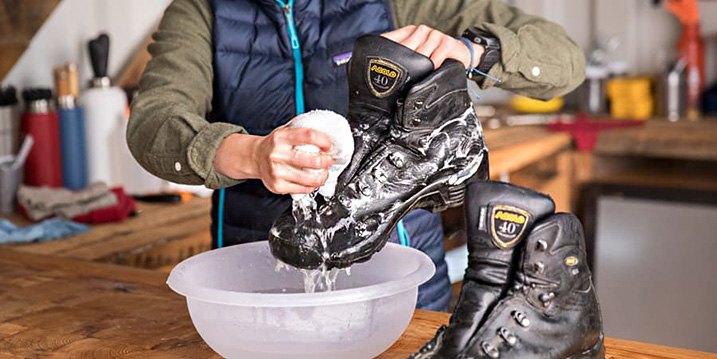
Start by using warm water and a washing sponge to rinse excess dirt off the boots, gently using an old toothbrush or other soft bristle brush to loosen caked-on gunk. For cleansing, dampen a cleaning cloth such as the BikeMaster Microfiber Towel, Dr. Beasley's Edgeless Microfiber Towel, or Hog Wash Microfiber Detailing Cloth and apply cleaning solution to the cloth, not directly on the leather. Follow any specific instructions from individual manufacturers regarding how much to use, etc.

Wipe leather surface areas gently and thoroughly to lift out dirt. Switch to a new cloth when it starts to get overly soiled. Use another clean, dry one to wipe off the cleaner until all surfaces are dry to the touch. Give the boots 24 hours to continue drying before moving to the next step, applying leather conditioner.
Conditioning Leather
Once you've given the boots 24 hours to dry thoroughly from their washing, you can apply conditioner if you choose to. We like to point out that while you don't always have to condition your leather boots after cleaning, you do always need to clean them before conditioning. Conditioning the leather replenishes tanning agents, lanolin, and other natural lubricants found in leather which get lost over time.
Use a different clean cloth to rub the conditioner into the boots. While it's okay to clean leather more often, it's best to condition with less frequency - maybe once or twice a year. A buildup from too much conditioning oil can clog pores in the leather, which is harmful in the long run. Once applied, leave conditioner on for about 15 minutes (or as directed by manufacturer instructions) before buffing it off.

For conditioning leather after it's already been washed, we recommend Leather Therapy's Leather Finish. For maintenance of leather boots that aren't grimy or in need of a thorough cleaning, we've got several Doc Bailey's products that are spray-on/wipe-off leather cleaners and conditioners in one.

Used in moderation, natural detergents lift dirt out of the leather while natural waxes deposit moisturizing conditioners that don't clog pores. For black boots, choose Doc Bailey's Original Leather Black Detail Kit that covers minor scratches and scuffs while darkening the leather to a nice shine. For colors other than black, use the Original Leather Clear Kit.
Applying Water Repellency Treatments

When your boots were first manufactured, they were given a durable water repellency treatment to repel water, mud, grease, and other liquids. But with time and use, the clear repellency layer wears off. So if you've noticed water no longer beads and runs off your boots, it's time to re-apply a fresh layer.

Once you've finished cleaning or conditioning your boots, we recommend waiting an additional day before applying any additional water repellency coat. It may be frustrating and inconvenient to delay things, but letting pores dry thoroughly from whatever step was last performed really will get you better results.

Use Leather Therapy's Water Repellent spray for leather, or Revivex's Durable Spray Water Repellent for Gore-Tex, nylon, and other synthetics. We also have Revivex Durable Spray Water Repellent for Outerwear for other woven materials such as rain gear, tents, nylon jackets, pants, waders, and gloves.
Keeping Your Boots' Interior Dry & Clean
Dry

Another smart boot care move is to air out their insides on a boot drying rack after each use. Depending on personal preferences, you may find these stands handy to use for cleaning and treatment applications also.
To make drying and cleaning easier, most manufacturers equip their powersports boots with removable inner liners which are usually machine washable. And if you use your boots regularly and don't have time to wait, the DryGuy Travel Dry DX Shoe & Boot Dryer and Warmer speeds up the process with a compact set of plug-in heating wands. A small fan circulates their warmth outward with safe heating element temperatures that don't exceed 99 degrees Fahrenheit. Power jacks for car chargers and U.S. wall outlets are included.
Clean
When boots are worn regularly, bacteria collect on interior liners from body sweat and water seeping in from above. As the liners get saturated, they begin to take on that all-too-familiar stench of foot odor. For sanitizing those inner liners that can't be machine washed, we recommend Bike Brite's Helmet Liner Refreshner. While it's marketed as a cleaner and deodorizer of foam helmet liners, it also does an excellent job on the inside of boots. Should you prefer to ditch that old crusty liner altogether, we've got a selection of replacement inner liners.

In our Boots & Footwear section, you'll also find replacement boot insoles, rain boot covers, high & low riding socks, and other conveniences. Plus, we've got more in the way of rider protection with specially designed items for elbow & wrist protection, knee & ankle protection, chest & back protection, airbag jackets, gloves, and more.

As always, we believe an educated powersports rider is a safe one, so we invite you to read other informative articles on our website discussing topics such as in-helmet Bluetooth communication upgrades, helmet selection guides, riding gear and protective clothing, chest and back armor, neck braces, and more. We encourage you to call us with any questions regarding products in this or other sections - we've got knowledgeable specialists here seven days a week!